

How to Draw a Flamingo
Please PAUSE the video after each step to draw at your own pace.
For the first few steps, don’t press down too hard with your pencil. Use light, smooth strokes to begin.
Step 1: Draw a big circle as a guide for the flamingo’s body. Leave enough room at the top and bottom for the head and feet. Don’t worry about the circle being perfect. It’s just a guide.
Step 2: Draw a smaller circle on the top right side as a guide for the flamingo’s head. The higher up you place the circle, the longer the neck will be.
Step 3: Draw the two arcs on the right side of the flamingo’s head as a guide for the beak. Place the second smaller arc under the first to create the bent beak.
Step 4: Draw a curved line under the head as a guide for the flamingo’s neck. Draw the line lightly at first to get the S shape right.
Step 5: Draw a long line under the body as a guide for the flamingo’s leg. Bend the end a bit for the foot.
Step 6: Draw a line on the left side as a guide for the rest of the flamingo’s body. The line should angle at the middle similar to a less-than sign (<).
That’s it for the initial sketch! From this point on, press harder with your pencil to get a more defined sketch.
Step 7: Draw the flamingo’s eye inside the circle on the right side. The eye is basically a small circle with a dot inside of it for the pupil. Draw a few lines around it for extra detail.
Step 8: Use the initial arcs as guides to draw the flamingo’s curved beak. Draw the base of the beak that extends from the eye to the upper edges of the first arc. Follow the outer path of the arcs to create the main part of the beak and make the tip pointier. Draw a line in the middle to create the mouth opening. The line should follow the curvature of the beak and should be a bit closer to the top part.
Step 9: Use the circle as a guide to draw the flamingo’s head. Darken the lines as you follow the basic path of the circle and make the head thinner.
Step 10: Use the S-shaped line as a guide to draw the flamingo’s neck. Follow the path of the guide line as you make the neck thicker. Draw the neck lightly at first. Once you get the structure right, darken the lines. The neck gets wider at the bottom where it meets the body.
Step 11: Use the circle and angled line as guides to draw the flamingo’s wing. Draw the first two rows of feathers inside the circle. The top row of feathers are short and pointy. The second row has longer and rounder feathers. The feathers on the right side are shorter and narrower. The feathers on the the left are angled like a series of slashes (///).
Step 12: Draw the rest of the flamingo’s body using the remaining shapes and lines as guides. Darken the top of the body as you follow the top path of the circle. Draw a few lines on the lower left side for the short tail. Finish the bottom part of the flamingo’s body and add the base of the foot near the middle where the long line is.
Step 13: Use the long line as a guide to draw the flamingo’s leg. Follow the path of the line and make the leg thicker. Draw a bump near the middle for the joint. Draw the foot bending forward at the bottom as you follow the angle of the line. Flamingos typically rest on one leg, so don’t draw the leg on the other side. Draw short lines to indicate the toes, then connect them using curved lines to create the webbing. Draw a line under the flamingo’s tail for the leg that’s bent backward and tucked under the body.
Step 14 (optional): You can stop here for sketchy look or erase as much as you can of the initial guide lines for a cleaner look. Don’t worry about erasing all of the guides. It’s okay to leave some behind. Also re-draw any final sketch lines that you may have accidentally erased.
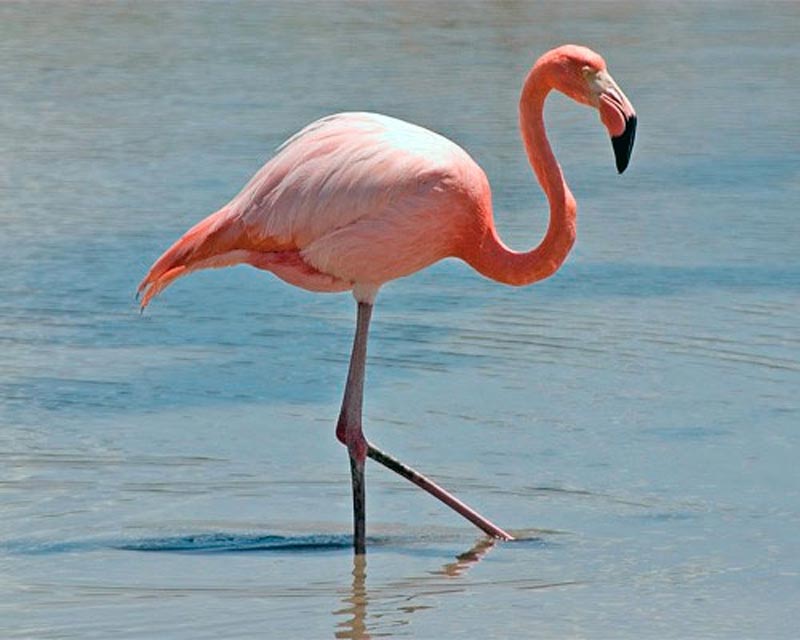
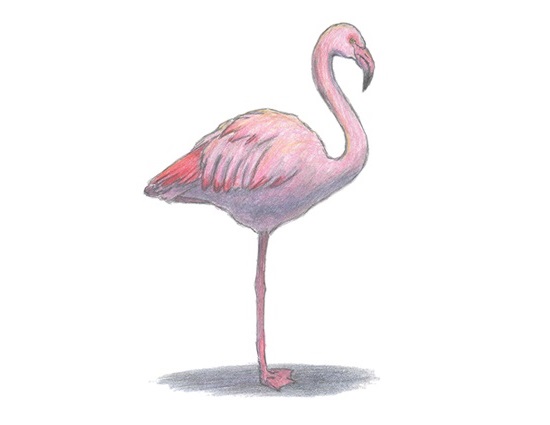
Step 15 (optional): Flamingos are colorful, so instead of the usual shading, try coloring your drawing. Shadows are usually at the cool end of the spectrum, so use blue and purple to shade. Pick the direction of the light source to draw the shadows consistently. Add some gray on top to dull down the blue of the shadows. The tip of the beak is black. Add some yellow to the eye. Here’s the fun part. Add the different shades of pink all over the flamingo’s body! Add some red to the tips of the wing and some of the body. The coloration depends on the species of the flamingo. Greater flamingos are more pale and don’t have as much red or pink as American flamingos. Add different shades of pink all over the body. Vary the pressure on your pencil to get different shades of pink. Use reference for greater accuracy of the coloration. But don’t worry about making it perfect. Have fun with it!
Step 16 (optional): Draw a cast shadow underneath. This helps ground the flamingo so it doesn’t appear to be floating. Use blue for the shadow, then dull it down a bit using gray. Add more gray to dull your drawing down and more pink to brighten it up. Keep adding color until you’re happy with the result. Remember to pause the video any time you need help.


 (4 votes, average: 3.25 out of 5)