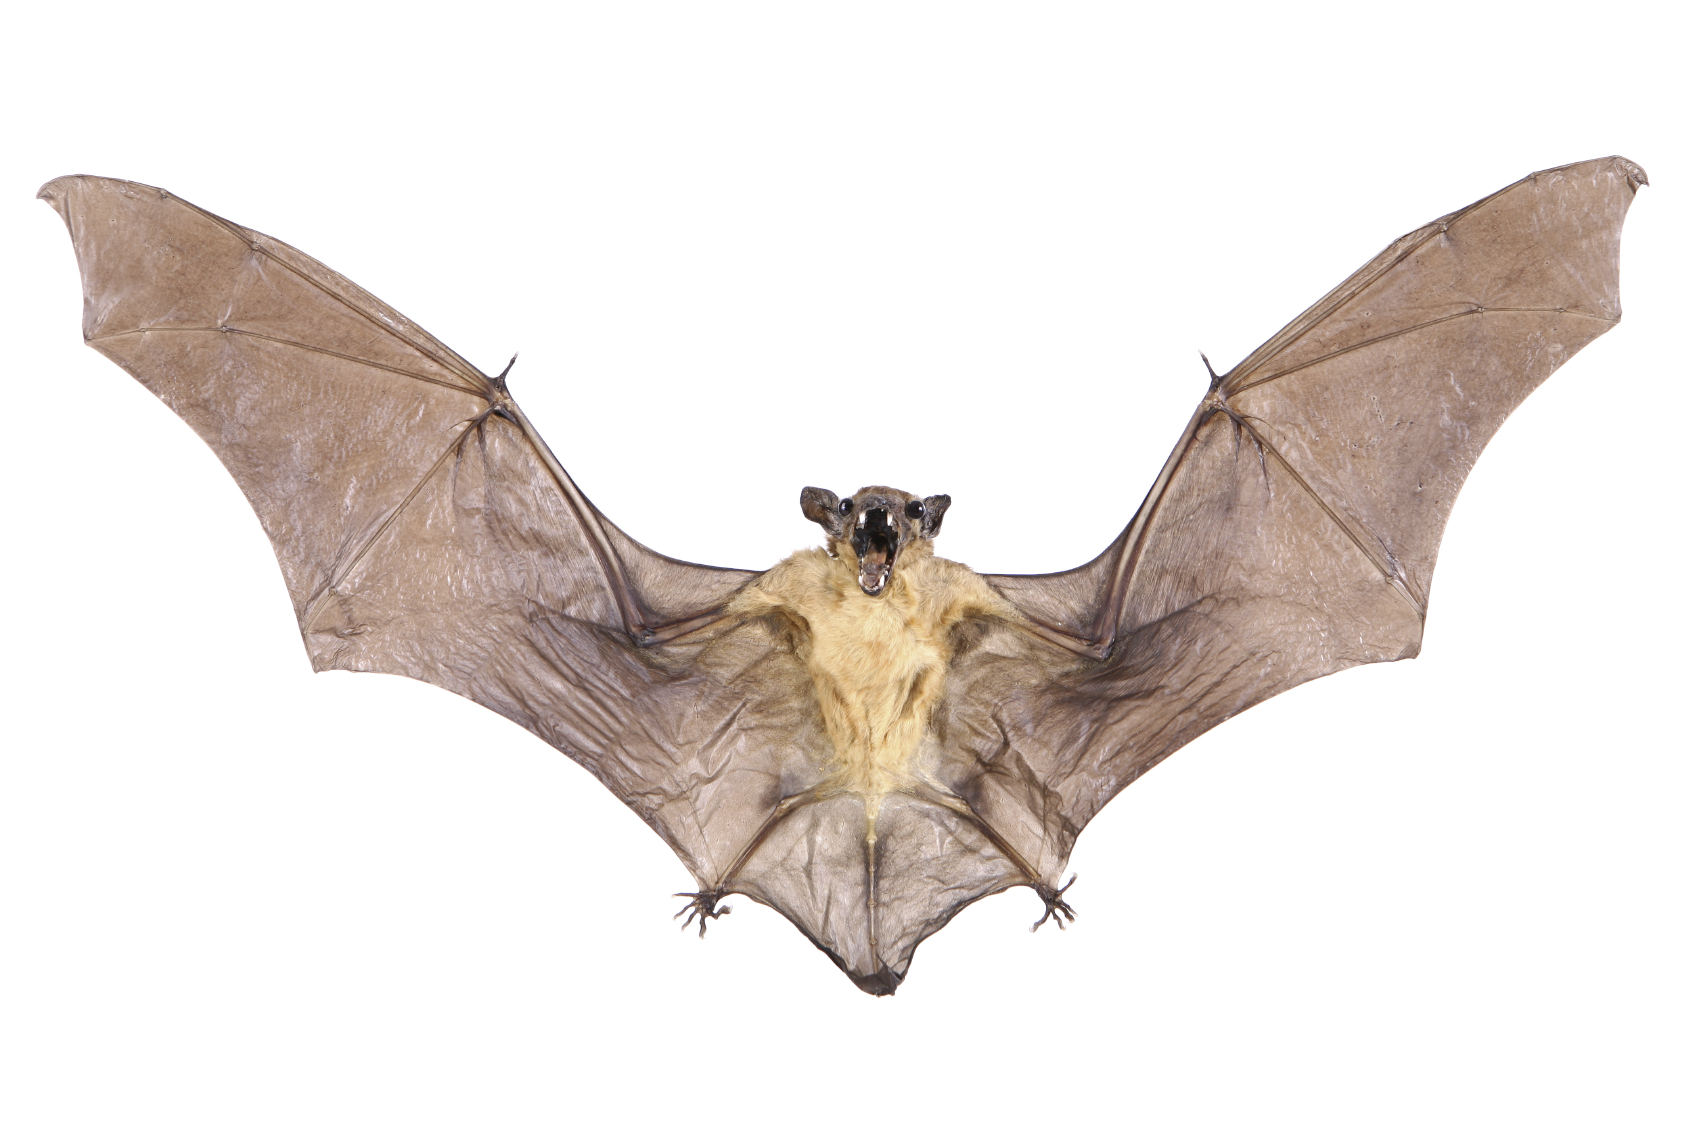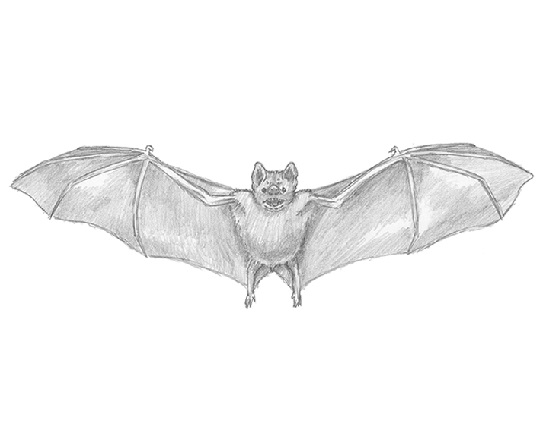


How to Draw a Bat
Please PAUSE the video after each step to draw at your own pace.
For the first few steps, don’t press down too hard with your pencil. Use light, smooth strokes to begin.
Step 1: Draw a small circle as a guide for the bat’s head. the circle doesn’t have to be perfect. It’s just a guide.
Step 2: Draw two intersecting lines inside the bat’s head to help you place the facial features later on.
Step 3: Draw two triangle-like arcs on top of the head as guides for the bat’s ears.
Step 4: Draw an oval under the head as a guide for the bat’s body. The top of the oval should touch the tips of the horizontal intersecting line. The length should be about twice the size of the bat’s head.
Step 5: Draw the first part of the guide for the bat’s wings on the sides of the body. The lines start at the ends of the horizontal intersecting line in the head and move outward, and they curve up, then down like a hill. Draw the lines lightly at first to get the structure right. The length of these lines will determine the final size of the bat’s wings.
Step 6: Draw the second part of the guides for the wings. Draw two small angled lines under the long lines as guides for the fingers. Place them at about half the length of the long lines. The length of these lines should be a bit longer than the bat’s body.
Step 7: Draw two short, angled lines under the bat’s body as guides for the feet.
That’s it for the initial sketch! From this point on, press harder with your pencil to get a more defined sketch.
Step 8: Draw the bat’s eyes inside the head using the lines as guides for placement. The eyes are basically two small ovals. Draw them lightly at first to get the shape right. Shade the inside of the ovals except for a tiny circle to represent glare.
Step 9: Use the intersecting lines as guides to draw the nose in the middle of the head. Draw the bat’s nostrils as two tiny check marks. Then draw two curved lines above as the top part of the nostrils. Draw a wavy line on the top of the nostrils as the curvy nose ridge.
Step 10: Draw the open mouth under the nose. The shape is similar to a diamond. Use quick, short strokes to represent fur.
Step 11: Draw the sharp teeth inside the mouth. The teeth are pointy, triangle-like shapes. Don’t draw every single tooth. Just draw a few to give the sense of the teeth.
Step 12: Draw a few quick, short strokes around the mouth to represent fur.
Step 13: Use the arcs on the bat’s head to draw the ears. Darken the arcs and make them curvier at the base. Draw some quick, short strokes at th ebottom for fur. Draw a few lines within the ear to represent the inner ear structure.
Step 14: Use the original circle as a guide to draw the rest of the bat’s head. Use quick, short strokes as you folow the path of the circle for a fuzzy look. Draw a few extra lines inside the head for extra detail.
Step 15: Use the initial lines as guides to draw the first part of the bat’s wings. First draw a couple of fuzzy arcs on the side of the head for the shoulders. Then follow the basic path of the guide lines to create the arms and the long fingers. Draw a small shape at the top of the wing for the small thumb. Then draw a long, skinny shape slightly above the guide for the first digit. Use the other lines as guides to draw the remaining digits of the bat’s hand. Follow the path of the line as you thicken up the fingers. There should be a total of five digits, including the tiny thumb. Complete the rest of the arm and make it thicker than the fingers. Draw the wing on the right using the same technique. Draw the small thumb at the top and the first digit above the guide line. Draw the rest of the digits by using the remaining lines as guides. Make the digits long and pointy. Be sure to have four long digits plus the small thumb on top. Finish the rest of the arm and make it thicker than the digits.
Step 16: Use the lines at the bottom as guides to draw the bat’s legs. Follow the path of the guide as you make the line thicker. Draw the small toes at the bottom. Draw the other leg using the same technique.
Step 17: Draw a few lines to connect the digits to each other and to the legs to create the actual wings. Don’t draw the lines too straight and rigid. Bend them a little for a more organic feel. The longer your original guide lines were, the bigger your bat’s wings will be. Draw a tiny tail between the bat’s legs and connect it to the legs with a couple of lines.
Step 18: Use the initial oval as a guide to draw the rest of the body. Use quick, short strokes to represent fur.
Step 19 (optional): You can stop here for a sketchy look or erase as much as you can of the initial guide lines for a cleaner look. Don’t worry about erasing all of the guides. It’s okay to leave some behind. Also re-draw any final sketch lines that you may have accidentally erased.
Step 20 (optional): Add some shading to your bat drawing to give it more dimension and volume. Pick the direction of the light source when shading so that the shadows are consistent with it.
Step 21 (optional): You can add more value throughout your bat drawing for extra detail. Vary the pressure on your pencil to get different degrees of tonal value. Try to add the value smoothly throughout the bat’s wings for a leathery feel instead of a rough-textured look. It’s always a good idea to use reference for accuracy when drawing your bat. Remember to PAUSE the video any time you need help along the way.


