 (1 votes, average: 5.00 out of 5)
How to Draw a Scarlet Macaw
Please PAUSE the video after each step to draw at your own pace (scroll down to see the final scarlet macaw drawing).
For the first few steps, don’t press down too hard with your pencil. Use light, smooth strokes to begin.
Step 1: Draw a slanted oval as a guide for the macaw’s body. It doesn’t have to be perfect. It’s only a guide.
Step 2:Draw an arc underneath as a guide for the macaw’s wings.
Step 3: Draw a smaller oval for the scarlet macaw’s head and draw a curved line inside of it to help you place the facial features later.
Step 4: Draw a curved line on the lower right side as a guide for the macaw’s foot.
Step 5: Draw a vertical line underneath as a guide for the bird’s tail.
That’s it for the initial sketch. From this point on, press harder with your pencil to get a more defined sketch.
Step 6: Draw the macaw’s eye as a circle inside another circle. Shade the inner circle (the pupil).
Step 7: Use the initial lines as guides to draw the macaw’s beak. The top part of the beak extends outside the oval and comes to a point. The bottom is a curved line underneath the top part.
Step 8: Draw a shape from the scarlet macaw’s beak that wraps around the eye for the patch of bare skin.
Step 9: Draw the head using quick, short strokes to simulate feathers.
Step 10: Use the initial guide lines to draw a basic outline for the bird’s body. Curve the lines at the ends where the individual feathers stick out.
Step 11: Draw the feathered pattern inside the scarlet macaw’s wings by drawing a series of curved lines inside. The pattern is made up of simple curves that resemble the letters J or U. Pause the video or use reference to get the pattern of the feathers correct.
Step 12: Use the guide line to draw the tail using the same technique of curved lines.
Step 13: Draw the macaw’s foot by using the initial line as a guide.
Step 14 (optional): Draw something under the scarlet macaw’s feet so it doesn’t appear to be floating. A few squiggly lines make a branch.
Step 15 (optional): You can stop here for a sketchy look or erase as much as you can of the initial guides for a cleaner look. Don’t worry about erasing them all. The feathers make that very hard to do, so it’s okay to leave some behind.
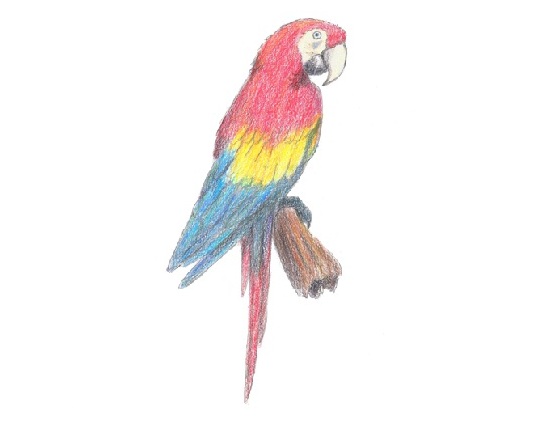
Step 16 (optional): Scarlet macaws are colorful, so instead of the usual shading, try coloring it. Shadows are usually at the cool end of the color spectrum, so use blue or purple to shade. Pick the direction of the light source to draw the shadows consistently. Add some gray on top to dull the blue down.
Color the scarlet macaw’s mask and beak yellow and add some pink on top of it. Add some black to the lower part of the beak.
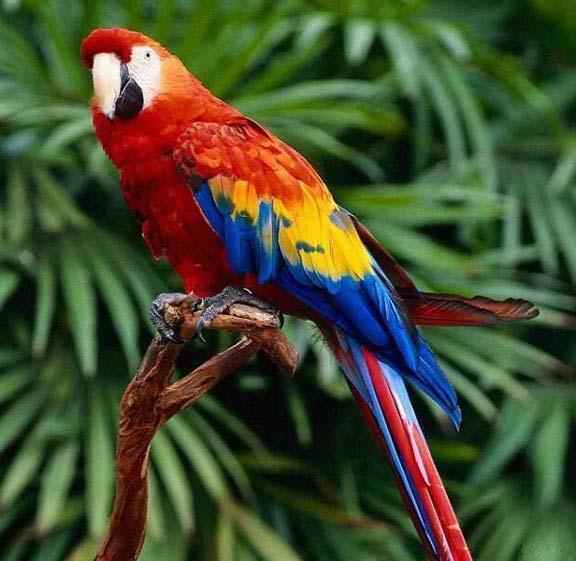
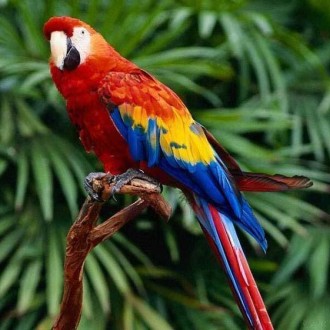
Here’s the fun part! Add the scarlet macaw’s bright colors! These birds are basically red, yellow and blue. I usually start with lighter colors and build up to darker hues. So start with a yellow-orange, then red, then maroon. It’s a good idea to use reference to be as accurate as possible. Or just have fun with it and color however you want.